Walls take a beating over the years. Doorknobs leave dents, furniture scrapes paint, settling foundations crack the surface, and the occasional accident punches a hole straight through. The good news is that drywall repair is one of the most forgiving home improvement jobs out there — most fixes only need a few basic tools, a bit of patience, and the right technique for the type of damage you’re dealing with.
This guide walks through the most common drywall problems homeowners encounter: cracks, large holes, ceiling damage, and when it makes sense to use repair clips instead of a full replacement. We’ll also cover realistic cost expectations, since that’s usually the first question people ask before deciding whether to DIY or call in a contractor.
Why Drywall Cracks and Damages in the First Place
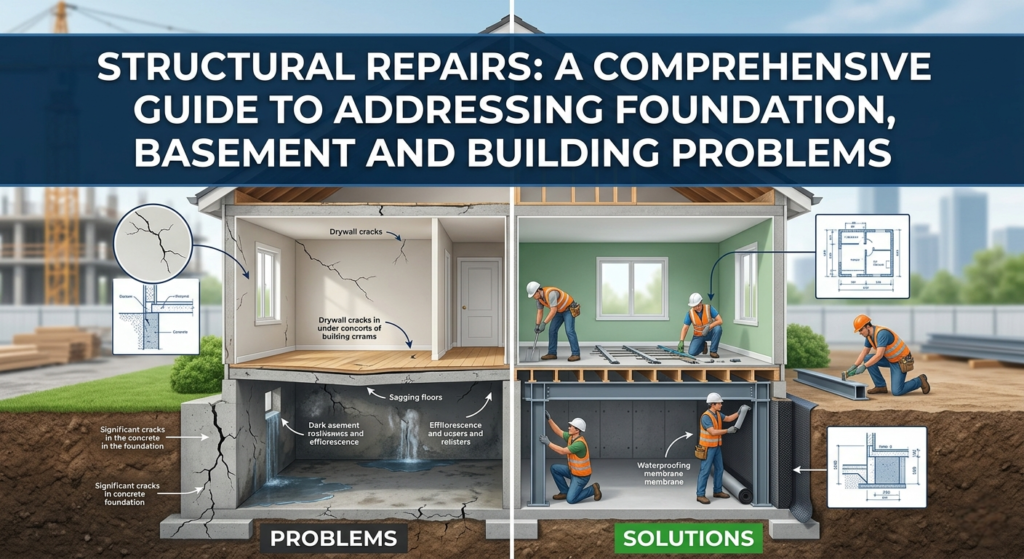
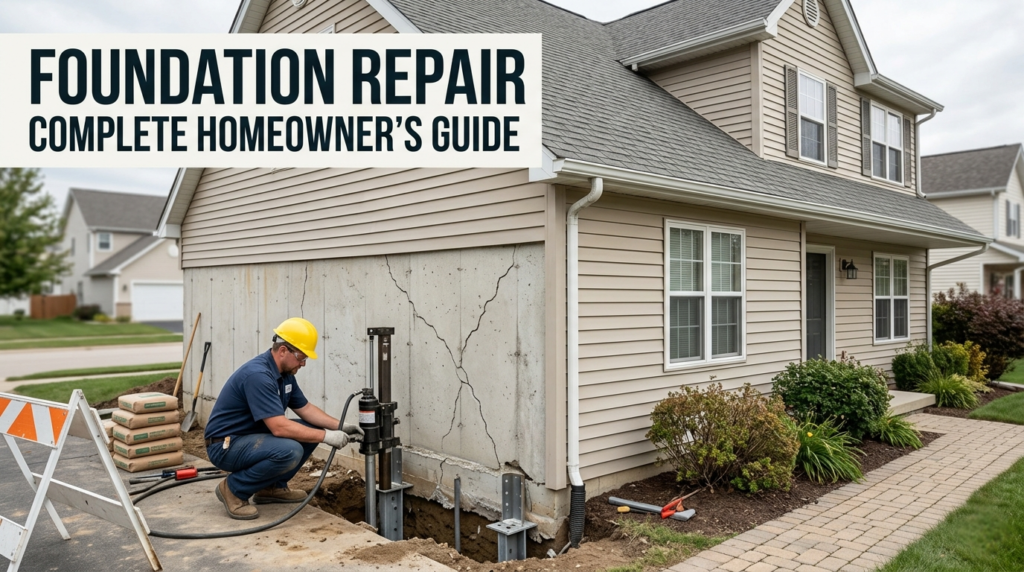
Before grabbing a patch kit, it helps to know what caused the damage. Hairline cracks near corners or above doorways are often just normal house settling — nothing structural, just the building shifting slightly over seasons. Cracks that run diagonally, widen over time, or appear alongside sticking doors and uneven floors are worth a closer look, since they can point to foundation movement. Holes, on the other hand, are almost always physical impact: a doorknob, a moved piece of furniture, or removing an old fixture.
Knowing the cause matters because patching a symptom without addressing the source means the crack will likely come back.
Drywall Crack Repair: Step by Step
For most cracks, the repair process is straightforward:
- Widen the crack slightly with a utility knife so the joint compound has something to grip.
- Apply a thin layer of joint compound over the crack using a putty knife.
- Press paper or mesh drywall tape into the wet compound, smoothing out air bubbles.
- Add a second coat once the first has dried, feathering the edges so the patch blends into the surrounding wall.
- Sand smooth, prime, and paint to match.
For wider or recurring cracks — anything beyond a hairline — a flexible patching compound designed for moving joints holds up better than standard mud. It’s also worth checking whether the crack lines up with a door frame or window, since those areas naturally flex more and may need reinforced tape rather than just compound.
How to Repair a Large Hole in Drywall
Cracks are cosmetic; large holes need a bit more structure. For anything bigger than a fist-sized hole, the standard approach is the “California patch” or a scrap-of-drywall patch:
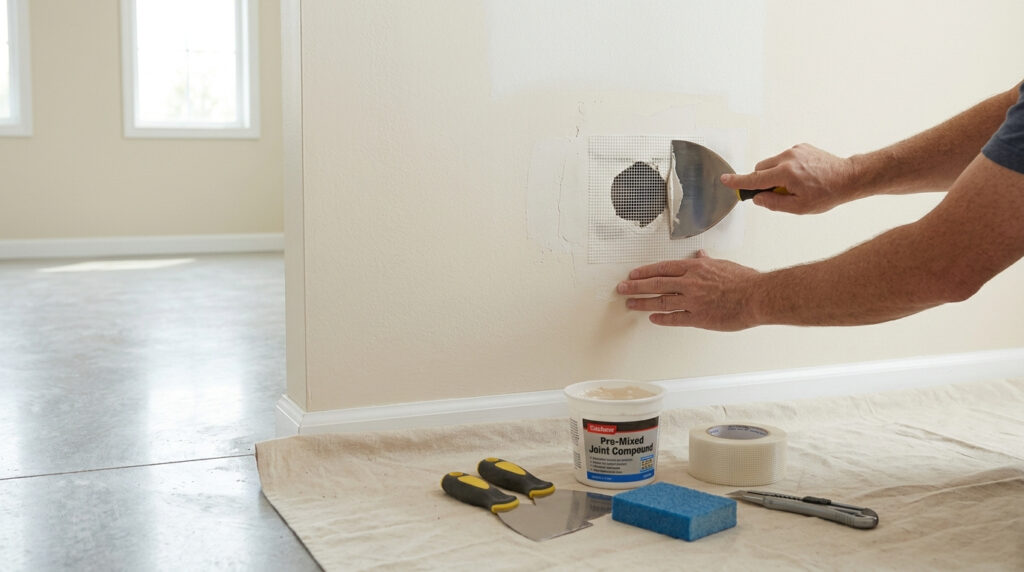
First, cut a piece of new drywall slightly larger than the hole, then trace and cut the damaged area to match its shape. If there’s no stud behind the hole to screw into, attach wood furring strips or drywall clips inside the cavity to give the patch something to anchor to. Screw or glue the new piece into place, then tape and mud the seams just like a crack repair — usually two to three coats, sanding between each.
The biggest mistake people make here is rushing the feathering step. A patch that’s perfectly flush in the middle but has a visible ridge at the edges will show under any angled light, especially once painted.
How to Repair Ceiling Drywall
Ceiling repairs follow the same basic logic as wall repairs, but gravity adds a layer of difficulty — both the compound and the patch itself want to sag before they set. A few things make ceiling work go smoother: use a lightweight joint compound rather than a heavy-bodied one, work in thinner coats than you would on a wall, and brace any patch piece temporarily until the adhesive or screws are fully secure.
Water-stained ceiling drywall is a special case. If the discoloration came from a past leak that’s since been fixed, the area still needs to be sealed with a stain-blocking primer before painting, or the stain will bleed through new paint within weeks. If the leak is ongoing, repairing the drywall before fixing the source is just a temporary cover-up.
Drywall Repair Clips: When They’re Worth Using
Drywall repair clips (sometimes called California clips) are small metal brackets that give a patch something to attach to when there’s no wood stud behind it. They’re particularly useful for holes located between studs, where a traditional backing board isn’t practical. The clips hook onto the edge of the existing drywall opening and provide a screw point for the patch piece, holding everything flush without needing to cut into the wall further.
They’re inexpensive, sold in most hardware stores, and genuinely simplify mid-sized hole repairs — but they’re not necessary for small cracks or nail holes, where compound alone does the job.
How Much Does Drywall Repair Cost
Cost depends heavily on damage size and whether you’re hiring a professional. As a general guide:
Small cracks and nail holes typically run $50 to $150 if hired out, largely covering labor and a service call minimum. Medium holes, including patch material and texture matching, usually fall between $150 and $400. Larger repairs — multiple holes, water-damaged sections, or ceiling work — can run $400 to $1,000 or more, especially if popcorn texture or matching paint sheen is involved.
DIY costs are far lower: a basic patch kit, joint compound, tape, and sandpaper usually total under $30, though tool costs add up if you’re starting from scratch.
Final Thoughts
Most drywall damage looks worse than it actually is to fix. Cracks and small holes are well within DIY territory with basic tools and a little patience, while larger holes, structural cracks, or ceiling damage tied to water issues are often worth a professional assessment — both for a clean finish and to make sure you’re not just patching over a bigger underlying problem. Either way, catching damage early and matching the repair method to the type of damage will save both time and money in the long run.